A clogged filter is the silent killer of vacuum performance. If your Shark vacuum isn’t picking up like it used to, the culprit is usually trapped dust, pet hair, and debris caked into the filter. Regular filter maintenance doesn’t just restore suction, it extends your machine’s life and saves you from buying a replacement years sooner than needed. The good news is that cleaning a Shark vacuum filter is straightforward enough for any homeowner, and it takes less than 30 minutes from start to finish. This guide walks you through the process step-by-step, so you’ll know exactly how to clean my Shark vacuum and keep it running at peak performance.
Table of Contents
ToggleKey Takeaways
- Cleaning your Shark vacuum filter every 1–3 months restores powerful suction and extends your machine’s lifespan by 30–40% compared to neglected vacuums.
- The filter cleaning process takes less than 30 minutes and requires only basic supplies like a soft brush, warm water, and a dry cloth—making it an easy DIY task for any homeowner.
- Always air-dry your filter completely for 24–48 hours before reinstalling it, as wet filters restrict airflow and can develop mold inside the vacuum.
- Replace your filter instead of continuing to clean it if you notice persistent gray discoloration, visible tears, musty smells, or if suction doesn’t improve within days of cleaning after 18–24 months of use.
- A clean Shark vacuum filter reduces strain on the motor, maintains better airflow, and minimizes allergens recirculating in your home, benefiting households with asthma or allergies.
Why Regular Filter Cleaning Matters
Your Shark vacuum’s filter is its first line of defense against dust and allergens escaping back into your home. As you vacuum, particles collect on the filter’s pleated surface, eventually forming a dense mat that restricts airflow. When suction drops noticeably, that’s a red flag that your filter needs attention.
Regular cleaning prevents several problems at once. A clean filter maintains powerful suction, so you actually pick up the dirt you’re pushing the vacuum around for. It also reduces strain on the motor, since the fan doesn’t have to work overtime pulling air through a clogged barrier. Homeowners who stay on top of filter maintenance report their vacuums last 30–40% longer than those neglected. Plus, a clean filter means fewer allergens recirculating in your living space, which matters if anyone in your household has asthma or allergies.
Most Shark vacuum owners should clean the filter every 1–3 months, depending on household traffic, pet ownership, and how often you vacuum. Heavy-use homes might need monthly cleaning, while lighter-use homes can stretch it to quarterly cleanings. If you can’t remember the last time you cleaned yours, today’s the day to start.
Tools and Materials You’ll Need
The beauty of cleaning a Shark vacuum filter is that you probably already have everything needed. Here’s what to gather before you start:
Basic Supplies:
• Your Shark vacuum (any model works with this method)
• Soft-bristled brush or old toothbrush
• Dry cloth or paper towels
• Warm water (not hot, heat can damage filter materials)
• Optional: mild dish soap
• Optional: vacuum bag or trash bin for dust fallout
Safety & Comfort:
• Dust mask or respirator (cleaning a filter releases years of accumulated dust)
• Gloves (latex or cloth work fine)
• Eye protection (optional but smart if you’re sensitive to airborne particles)
Set up your workspace outside or in a garage if possible. You’re about to release a lot of dust, and doing this indoors means re-vacuuming the mess. If you must clean inside, open windows and lay out newspaper or a drop cloth to contain fallout.
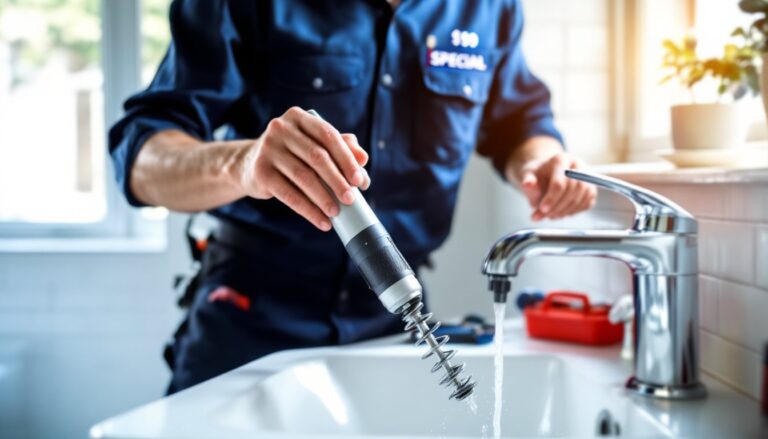
One quick note: before you start, unplug your Shark vacuum. This is non-negotiable for safety. You’re working with moving parts and electrical components, a stray hand or loose cloth could cause injury if the machine accidentally starts.
Step-by-Step Cleaning Process
Step 1: Locate and Remove the Filter
Every Shark vacuum model stores filters differently, but they’re typically easy to access. Check your user manual to find the exact location, filters are usually mounted on top of the dustbin, inside the bin itself, or behind a detachable cover panel. Once you find it, press the release buttons or tabs (usually marked on the vacuum) and gently pull the filter straight out. Some filters twist counterclockwise to unlock.
Step 2: Tap Out Loose Debris
Hold the filter over a trash bin and tap it firmly on the bottom with your hand or a soft brush. This dislodges the bulk of dry, caked-on dust without forcing water into the material prematurely. You’ll be surprised how much dust comes loose. This step alone can partially restore suction if you’re in a pinch, though it’s not a substitute for thorough cleaning.
Step 3: Brush the Filter Pleats
Using a soft-bristled brush or clean toothbrush, gently brush between the pleats from top to bottom. Work in vertical strokes and use light to medium pressure, aggressive scrubbing can damage the delicate filter material. Pay special attention to creases where dust accumulates thickest. If you’re learning where do the filters go in a shark vacuum while cleaning, you’re also learning how to handle them properly, friction and rough handling are their enemies.
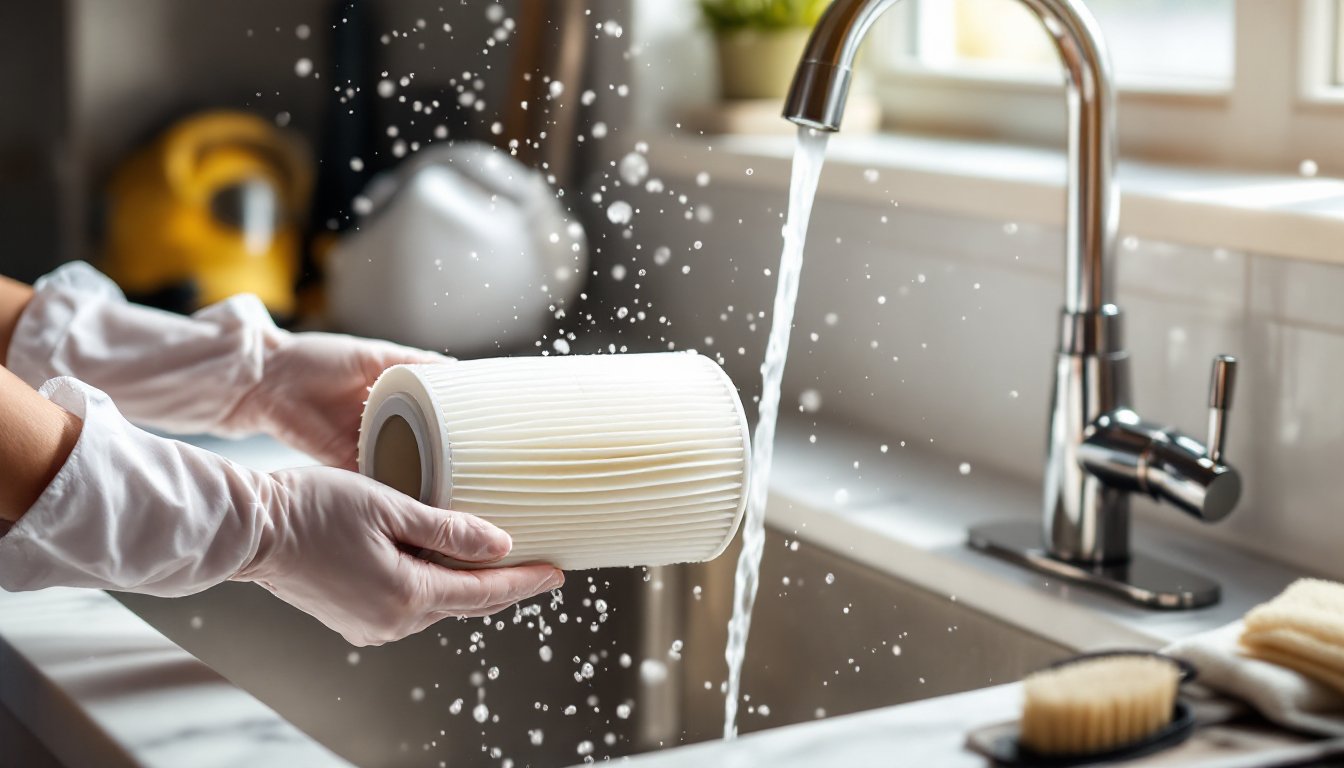
Step 4: Rinse with Water
Hold the filter under lukewarm running water, allowing it to cascade down the pleats. Let the water flow from top to bottom (the same direction as the brush strokes). Avoid spraying directly at high pressure: instead, let gravity and gentle water flow do the work. For stubborn residue, add a drop of mild dish soap to your hands and gently rub the outer surface while rinsing. Many people find that expert guidance on proper cleaning techniques helps clarify best practices for their specific model.
Step 5: Final Inspection
Hold the clean filter up to natural light and look through it. You should see light passing through, not dense gray patches. If dirty spots remain, repeat the rinsing process. Once satisfied, gently squeeze excess water over the sink, don’t wring or twist the filter, as this damages the pleats. Your filter is now clean and ready for the next phase.
Drying and Reinstalling Your Filter
This is where patience pays off. A wet filter won’t work properly and can foster mold growth inside your vacuum. Stand the filter upright on a clean, dry surface (a windowsill, shelf, or drain rack works well). Air-dry completely before reinstalling, this typically takes 24 hours in average humidity, though it can stretch to 48 hours in damp conditions.
Resist the urge to speed-dry with a hair dryer or oven. Heat damages the filter’s pleated material and can warp its frame. Direct sunlight actually helps dry the filter faster without risk, so if weather permits, place it outdoors in a sunny spot (covered from rain). Never install a damp filter: doing so restricts airflow and invites mold.
Once bone-dry, reinstall the filter exactly as it came out. Press it firmly into place until you hear or feel a click, or twist it clockwise if your model uses a twist-lock design. Resources like Today’s Homeowner provide seasonal maintenance checklists that include filter-drying best practices for different climates. Double-check that it’s seated correctly by looking at how the original sat, misalignment causes air leaks that bypass the filter entirely, defeating the purpose of cleaning it. Plug your vacuum back in and run it on low power for a few seconds to confirm everything’s working. You should notice improved suction immediately.
When to Replace Instead of Clean
Cleaning works beautifully for normal wear and tear, but filters aren’t eternal. If you’ve been cleaning the same filter for 18–24 months and suction keeps dropping faster after each cleaning, replacement time has arrived. Over time, filter material degrades and loses its ability to trap particles effectively.
Signs it’s time to buy a new filter include persistent gray discoloration that won’t rinse away, visible tears or holes in the pleats, a musty smell even after cleaning, or suction that doesn’t improve within days of a fresh cleaning. A new Shark filter typically costs $25–$50 and is easier to swap than troubleshoot a failing unit.
While you’re planning a replacement, check if your model uses a primary filter and a secondary (HEPA) filter, many Shark models do. Both need cleaning on the same schedule, and both should be replaced together when the time comes. You’ll find the exact part numbers in your manual or on the manufacturer’s website. Some homeowners prefer stepping through detailed cleaning instructions before concluding that replacement is truly necessary, it’s worth the verification to avoid unnecessary expense.
Conclusion
Cleaning your Shark vacuum filter is one of those home maintenance tasks that takes minimal effort but pays huge dividends. A 30-minute job every few months keeps your vacuum performing like new and extends its lifespan considerably. Stick to the schedule, monthly for heavy-use homes, quarterly otherwise, and you’ll never deal with the frustration of a machine that can’t pick up dirt. Your home will stay cleaner, your vacuum will run quieter and more efficiently, and you’ll get years more value from your investment.