Spring cleaning isn’t just about scrubbing surfaces, it’s about reimagining your space. Visual references make all the difference when you’re planning a refresh. Whether you’re tackling one room or your entire home, spring cleaning images help you set realistic goals, find inspiration for storage solutions, and track your progress from start to finish. This guide walks you through the kinds of visual inspiration you should gather, the practical tools you’ll need, and actionable steps to turn those ideas into a cleaner, better-organized home. Let’s get started.
Table of Contents
ToggleKey Takeaways
- Before-and-after spring cleaning images hold you accountable and provide visual proof of progress, motivating you to complete projects even when energy dips midway through.
- Gathering room-specific spring cleaning images that match your style and space helps you set realistic goals and identify organizing principles applicable to your home’s unique layout.
- A visual checklist paired with before, during, and after photos of each task transforms abstract goals into concrete steps and tracks measurable progress throughout your cleaning project.
- Photographing your cleaning tools and storage solutions organized in caddies or baskets motivates you to start while preventing the momentum-killing search for misplaced supplies.
- Documenting storage solutions with visible tape measures or rulers ensures you purchase organizers that actually fit your space, eliminating costly impulse buys that don’t work.
Before-and-After Transformation Photos
Before-and-after photos are your motivation fuel. They show what’s actually possible when you commit to a project. Start by taking clear photos of problem areas in your home, that overflowing closet, cluttered kitchen countertop, or basement corner that’s become a catch-all. Use natural light and shoot from the same angle each time so comparisons are straightforward.
These images serve two purposes. First, they hold you accountable. Seeing the “before” state reminds you why you started when energy dips midway through a room. Second, they prove progress. Even if you don’t finish everything, you’ll have visual evidence of what you did accomplish.
When collecting inspiration from online sources, look for transformations in spaces similar to yours. A studio apartment overhaul won’t translate directly to a family home with kids, but the organizing principles often do. Pay attention to lighting changes, many before-and-afters look dramatically different because the after photo was shot with better lighting. That’s intentional staging, but it also tells you something useful: once you clear clutter, light flows better.
Room-by-Room Decluttering Guides
A room-by-room approach keeps you from feeling overwhelmed. Instead of “clean the house,” you break the project into digestible chunks: master bedroom, kitchen, bathrooms, living areas, storage spaces.
For each room, gather images that show the end state you want. This could be a magazine clipping, an Instagram post, or a photo from a home improvement site. The key is specificity. Don’t just grab a generic “tidy bedroom” photo, find one that matches your style and shows storage solutions that actually work for your family’s habits.
When documenting the decluttering process, take photos of each category of items you’re sorting: keep, donate, discard, and relocate. This visual record helps you see patterns. Are you holding onto clothes you haven’t worn in two years? Duplicate kitchen gadgets? Identifying these patterns makes future decluttering faster.
A practical tactic is to use a smartphone or camera to photograph room layouts before you start moving furniture. If your furniture arrangement doesn’t work and you want to try a different layout, you’ll have a reference. Many people find that Real Simple’s organization tips include before-and-after room transformations that demonstrate how small space changes create big visual impacts.
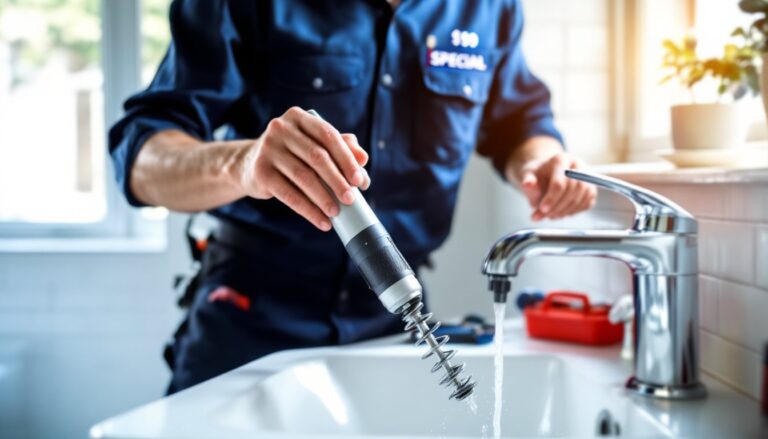
DIY Cleaning Tools and Product Setup
Visual inspiration isn’t just about the finished room, it’s about the tools and setup that get you there. Create a photo reference of your cleaning kit so you know exactly what you have and what you’re missing.
Start with the essentials: microfiber cloths (which grab dust without leaving streaks), a good all-purpose cleaner, glass cleaner, bristle brushes for grout and tight corners, a mop and bucket, and trash bags for sorting. If you’re tackling deep cleaning, add enzyme-based drain cleaner, oxygen bleach (safer than chlorine for many surfaces), and degreasers for kitchen hoods and stovetops.
For hard-to-reach areas, a telescoping microfiber duster or extendable scrubbing wand saves your back. Safety gear matters: wear nitrile gloves when handling cleaners, eye protection if you’re scrubbing overhead, and a mask if you’re vacuuming or wiping down dusty baseboards and vents.
Take photos of your supplies organized in a caddy or basket. Seeing your tools ready to go motivates you to start. It also prevents the “where did I put that brush?” moment that stalls momentum. Resources like The Spruce’s cleaning guides showcase tool setups and product recommendations that align with different cleaning tasks and project types.
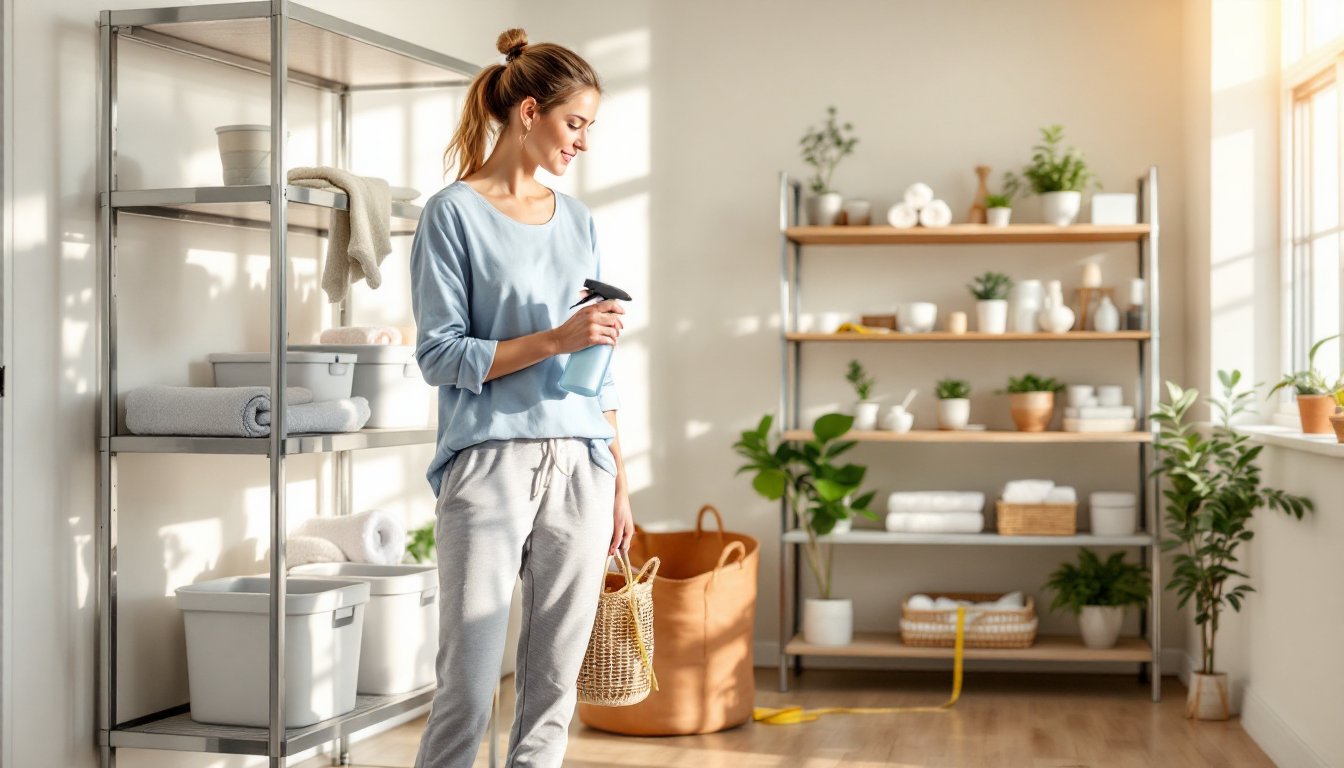
Organized Storage and Shelving Solutions
Storage images are crucial because they show how to contain items, not just remove them. Collect photos of closet systems, drawer dividers, under-sink organizers, and shelving units. Look for setups that match your home’s style, industrial shelving looks different from built-in cabinets, which differ from floating wall-mounted racks.
When photographing your own storage solutions, document both empty shelves and organized contents. This helps you visualize capacity and spot where items naturally stack or cluster. For instance, if you see all your cleaning supplies bunched in one corner of a cabinet, that tells you to group them with a caddy or pull-out drawer organizer.
Measure the dimensions of spaces you want to fill, shelf width, depth, height, and wall-to-wall distance. A photo of a stunning pegboard wall organizer means nothing if you don’t know whether the pegboard will fit your space. Take photos with a tape measure or ruler visible so you have scale references.
Label photos with room and item type. “Master closet, hanging space” and “Pantry, shelf bins” create a searchable visual inventory. When you’re standing in a store deciding between two shelf dividers, you can pull up your photo and check dimensions instantly. This prevents impulse buys that don’t fit your actual needs.
Fresh Decor and Styling Ideas
Once you’ve decluttered and organized, styling comes next. Decor images show how to make a cleaned space feel intentional, not just empty. Gather inspiration for artwork placement, throw pillow arrangements, plant positioning, and accent lighting.
Notice that styled spaces often use the “rule of three”, groups of objects in odd numbers feel more balanced than pairs. Three picture frames, three small plants, three decorative objects on a shelf. This principle shows up repeatedly in design photos, and it’s worth keeping in mind as you arrange items.
Photograph your space at different times of day. Morning light hits a room differently than evening light, and it changes how colors and textures appear. This helps you choose décor colors that work under your home’s actual lighting, not the photographer’s professional setup.
When saving decor inspiration online, note the specific elements you’re drawn to. Are you inspired by color schemes? Texture combinations? Open, minimalist spacing? Cozy, layered arrangements? Knowing what appeals to you prevents copying a room that looks good but doesn’t match your actual lifestyle. A family with kids might love the look of a minimalist living room but find it impractical, your photos should reflect spaces that work for your life.
Deep Cleaning Checklists and Progress Tracking
A visual checklist keeps you motivated and organized. Create a printable or digital checklist with photos of each task: baseboards, light fixtures, ceiling fans, window tracks, closet shelves, cabinet interiors, and behind appliances. Include small thumbnail images next to each task so you have a visual reminder of what “clean” looks like.
Progress tracking is best done with photos. Take a “before” shot of your intended work area, then a “during” shot midway through, and an “after” when you’re finished. This three-image sequence proves you’re making progress even on days when you don’t feel productive.
Use a calendar app or spreadsheet to schedule tasks across the week. Pair each scheduled task with a photo reference so you know exactly what you’re tackling. “Wednesday: kitchen deep clean” paired with a photo of your specific kitchen tells you more than the task alone.
Expert spring cleaning tips, including checklists and systematic approaches, appear in resources like Good Housekeeping’s spring cleaning guide, which breaks tasks into manageable daily and weekly schedules. Having both a visual and written reference prevents the common mistake of starting without a plan and burning out after two days.
Conclusion
Spring cleaning images, whether before-and-afters, tool setups, storage solutions, or style inspiration, transform an abstract goal into concrete steps. Your visual references keep you motivated, help you measure success, and ensure your finished space reflects your actual needs and style. Start gathering images today, organize them by room, and you’ll have a personalized spring cleaning roadmap ready to go.