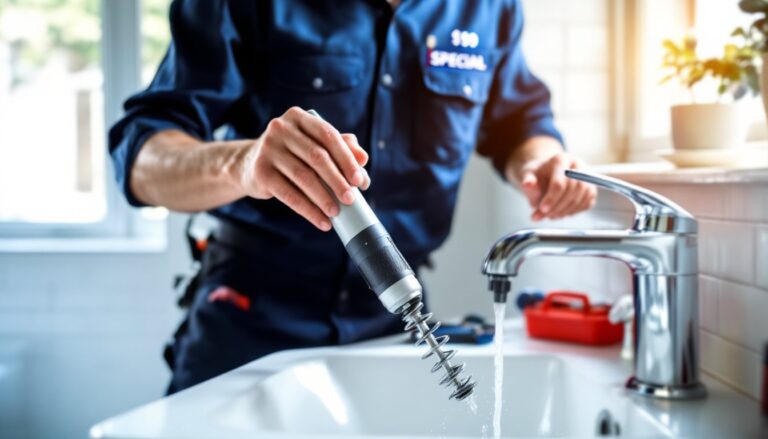
A water softener that runs without regular cleaning is like an air filter that never gets changed, it keeps running, but not well. Over time, sediment, iron, and salt residue build up in the brine tank and resin bed, forcing your system to work harder and reducing its ability to soften water. The good news? Cleaning a water softener is straightforward maintenance that most homeowners can handle in an afternoon with basic household supplies. This guide walks you through the process step-by-step, plus troubleshooting tips to keep your system running smoothly year-round.
Table of Contents
ToggleKey Takeaways
- Cleaning a water softener annually removes sediment, iron, and salt buildup that reduces efficiency and extends your system’s lifespan by 3–5 years.
- The brine tank cleaning process involves turning off the unit, scraping salt bridges, draining brine thoroughly, and rinsing multiple times with fresh water.
- Initiate a manual regeneration cycle after cleaning the resin bed to flush trapped particles and stabilize the system for 24 hours before use.
- High iron content, low water pressure, and salt bridges are common water softener problems solved through regular maintenance, proper cleaner selection, or professional servicing.
- Establish a monthly salt check, quarterly iron treatment if needed, and annual deep cleaning to keep your water softener running smoothly and efficiently.
Why Regular Water Softener Cleaning Matters
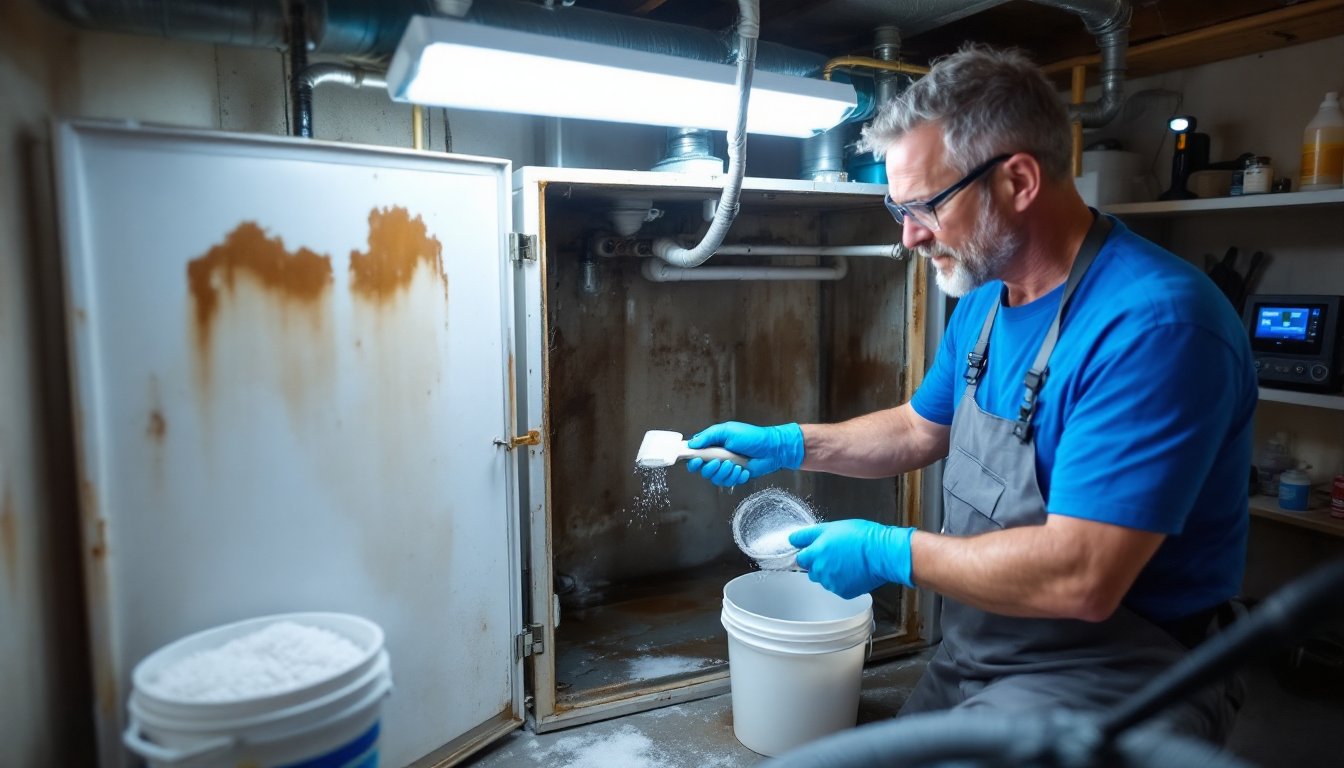
Hard water minerals and sediment don’t just disappear during regeneration cycles, they accumulate in your tank. A buildup of iron, silt, or salt bridges (hard crusts that form around salt) blocks proper brine distribution and prevents the resin beads from regenerating efficiently. This means you’ll notice spotty dishes, dry skin, and that familiar sticky film on shower walls again, even though the softener is supposedly running.
Regular cleaning extends your system’s lifespan by 3–5 years and restores water output to factory specifications. It also reduces the amount of salt your system needs to consume, saving money over time. Most manufacturers recommend cleaning at least annually, more often if you have particularly high iron or sediment content in your water supply.
What You’ll Need Before You Start
Gather these items before you begin:
Materials:
- Water softener cleaner (potassium permanganate for iron removal, or a resin bed cleaning solution like Chem-Clean or commercial alternatives)
- Table salt (or the salt type specified in your manual, most use standard pellets, some prefer crystals)
- Bucket (5-gallon)
- Wet/dry vacuum (optional but helpful for draining)
- Flashlight
- Rubber gloves
- Safety glasses
Tools:
- Screwdriver (Phillips and flathead)
- Cloth or soft brush
Check your owner’s manual first, some manufacturers void warranties if you use non-approved cleaners. Modern systems vary in design, and a few minutes reading prevents missteps. If you’re uncomfortable working inside the tank or if your system is still under warranty, call a technician.
Step-By-Step Cleaning Instructions
Cleaning the Brine Tank
- Turn off the water supply to the softener and unplug the unit.
- Open the brine tank access port (usually a large plastic lid on top: refer to your manual for its exact location).
- Remove salt that remains and set aside. Note how much was in there, you’ll replace a similar amount.
- Scrape the bottom and sides with a plastic scraper (metal scratches the tank) to loosen salt bridges and sediment. Use a flashlight to see buildup in corners.
- Drain remaining brine using a bucket or wet/dry vacuum. Some tanks have a drain valve at the bottom.
- Rinse thoroughly with a garden hose, agitating the tank interior to remove trapped residue. Multiple rinses ensure no salt crystals remain.
- Replace salt to the recommended level (usually 3–4 inches from the bottom: check your manual). Wipe the lid and reseal.
If iron content is high (orange or reddish staining on the tank), add a resin-safe iron remover like potassium permanganate before refilling with salt. Follow product instructions, typically a measured dose works in one regeneration cycle.
Regenerating the Resin Bed
The resin beads inside the mineral tank are where hardness minerals are actually removed. When cleaning, you initiate a special regeneration to flush trapped particles.
- Initiate a manual regeneration cycle via your softener’s control panel (refer to your manual: most units have a “Regen” or “Clean” button). This forces fresh brine through the resin.
- Monitor the cycle, it typically takes 30–90 minutes depending on your system size.
- If using a commercial resin cleaner, add it during the brine tank fill step as directed (usually during the service cycle that precedes regeneration).
- Allow 24 hours after cleaning before using softened water again, so the system stabilizes.
Resist the urge to backflush your system without cleaning solution, plain water won’t dissolve organic buildup or remove iron. Many systems (particularly those with Autotrol valves or similar) can’t be backflushed without a professional, so check your model first.
Common Problems and Troubleshooting Tips
Salt bridge or mushy salt: A hard crust or spongy layer forms, blocking brine flow. Use warm water and a plastic rod to carefully break it apart. Avoid hammering metal tools inside the tank. Switch to a water softener salt specifically designed to resist bridging.
Low water pressure or flow: This suggests sediment in the resin bed or control valve ports. Run multiple regeneration cycles without adding cleaner, or use a resin bed cleaning solution per product directions. If pressure remains low, the control valve may need professional servicing.
Iron staining returns immediately: High iron content requires a dedicated iron removal system upstream of your softener, not just in-tank treatment. Test your water hardness and iron levels using a home test kit or sending a sample to a local water lab. Many homeowners discover they need both softening and iron removal.
Salty-tasting water: This indicates brine isn’t draining properly, usually from a clogged brine line or stuck valve. Disconnect the brine line (usually a small plastic tube leading from the brine tank) and flush it separately with clean water.
If problems persist after cleaning, consult your manual’s troubleshooting section or call a water treatment technician. Some issues require professional diagnosis, particularly with control valve malfunctions.
Maintenance Schedule to Keep Your System Running Smoothly
Monthly: Check the brine tank salt level and top up as needed. A properly running softener depletes salt gradually.
Quarterly: If your water has high iron (tested at >3 ppm), use an iron-removal treatment to prevent heavy resin fouling.
Annually: Perform the full brine tank cleaning and resin bed regeneration outlined above. Schedule this during a season when you’re not doing heavy landscaping or lawn irrigation, since the softener will be offline briefly.
Every 3–5 years: Depending on your water quality, consider a professional inspection. Technicians can run diagnostic tests and clean internal control valve components that DIYers typically can’t access. Resources like Today’s Homeowner and Family Handyman offer seasonal maintenance checklists that include water system upkeep.
Know your system type, whether it’s a demand-initiated regeneration softener (regens only when needed) or a timer-based unit (regens on a fixed schedule). Demand-initiated units may need less frequent salt refills, but both benefit from the annual deep clean. Water quality test kits from Good Housekeeping’s tested recommendations can help you spot changes in hardness that signal your system needs attention sooner.
If you’re dealing with particularly troublesome water, high iron, sediment, or acidic pH, pairing your softener with proper pool filter cleaning techniques can be helpful if you have a pool, though the principle applies: regular maintenance of filtration systems prevents downstream problems. Similarly, understanding basic above-ground pool maintenance teaches the same lesson: small regular efforts prevent big, expensive repairs.